Oracle VirtualBox 머신 생성
머신을 생성하는 방법은 맨위 상단의 머신(M)을 클릭하여 새로 만들기(N)을 클릭하여 만들 수도 있습니다.
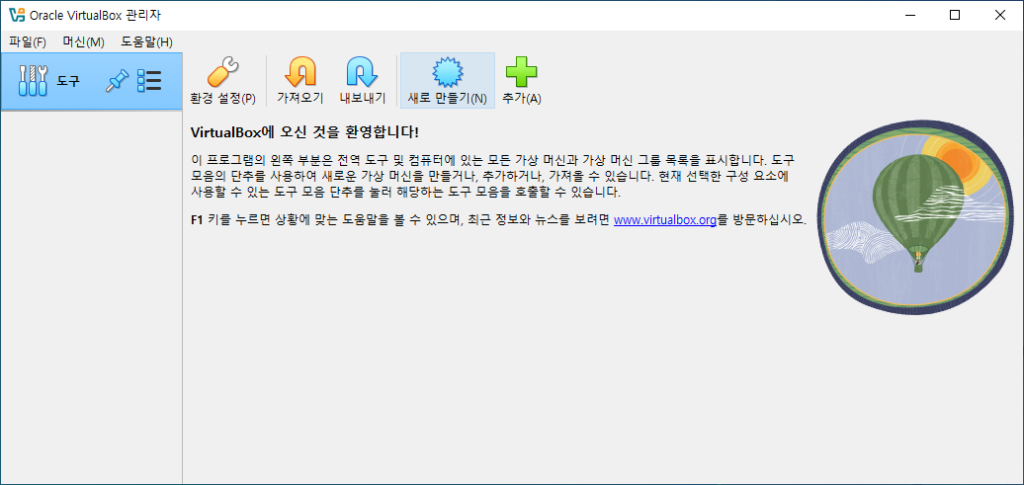
이번 설명에서는 환영합니다 페이지에 나온 새로 만들기(N)을 눌러 머신 생성을 진행해보겠습니다.
Oracle VirtualBox Machine Generation_1
Oracle VirtualBox 머신 이름 및 ISO 파일 설정
본 글에서 생성할 머신의 이름은 CentOS7.9_001로 생성하였고 리눅스 설치를 위해 리눅스 ISO 파일을 선택하였습니다.
무인 설치 건너뛰기(S)를 체크해주세요.

Oracle VirtualBox Machine Generation_2
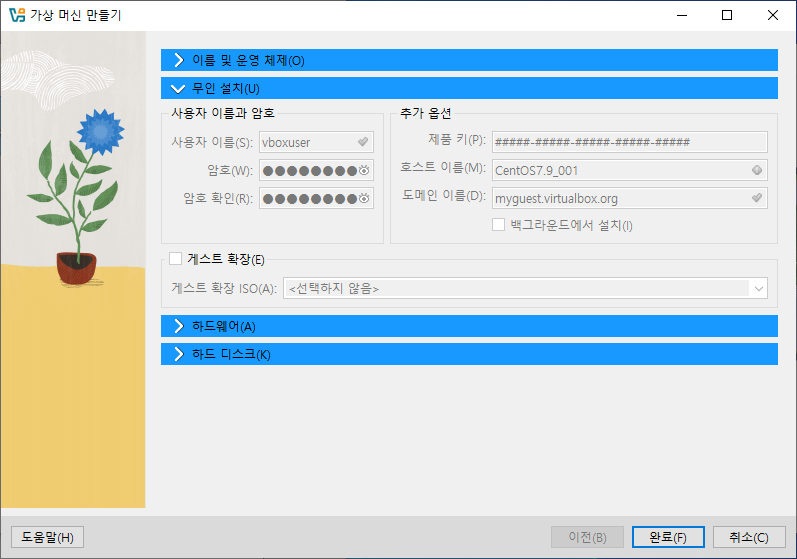
Oracle VirtualBox 머신 무인 설치 설명
무인 설치 건너뛰기 체크하여 아래와 같이 입력할 수 없는 상태가 되었지만 무인 설치를 하게 되면 자동으로 아래에 입력된 정보들이 자동으로 생성해주는 편리한 시스템입니다.
Oracle VirtualBox Machine Generation_3
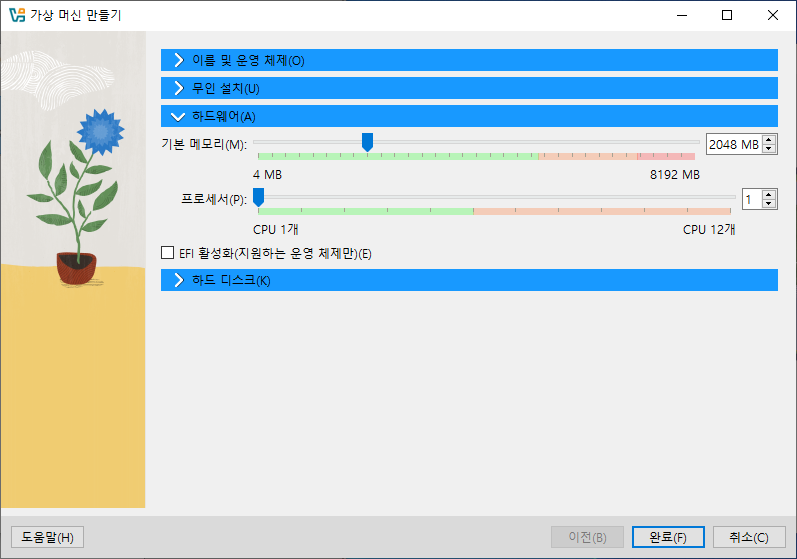
Oracle VirtualBox 머신 하드웨어 사양 설정
본 글에서는 기본 정해주는 사양 그대로 사용할 예정입니다.
특정 시스템을 구성 또는 구축을 연습해보기 위해 더 많은 메모리와 CPU가 필요하실 경우 아래 구축 예정인 시스템의 권장 사양에 맞게 설정해주시면 됩니다.
Oracle VirtualBox Machine Generation_4
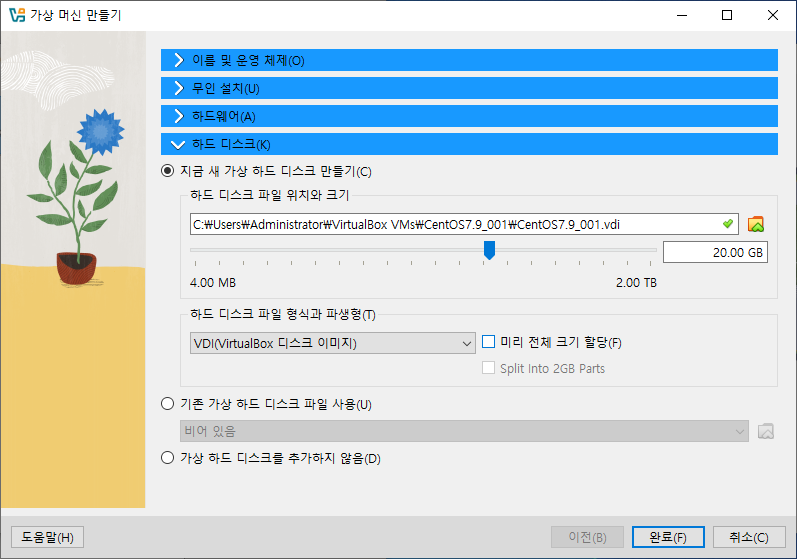
Oracle VirtualBox 머신 하드 디스크 설정
머신의 하드 디스크는 OS의 용량과 구축할 시스템의 크기를 예상하여 설정해주시면 됩니다.
본 글에서는 리눅스 설치를 위한 머신을 생성할 것이기 때문에 20GB로 설정하겠습니다.
Oracle VirtualBox Machine Generation_5
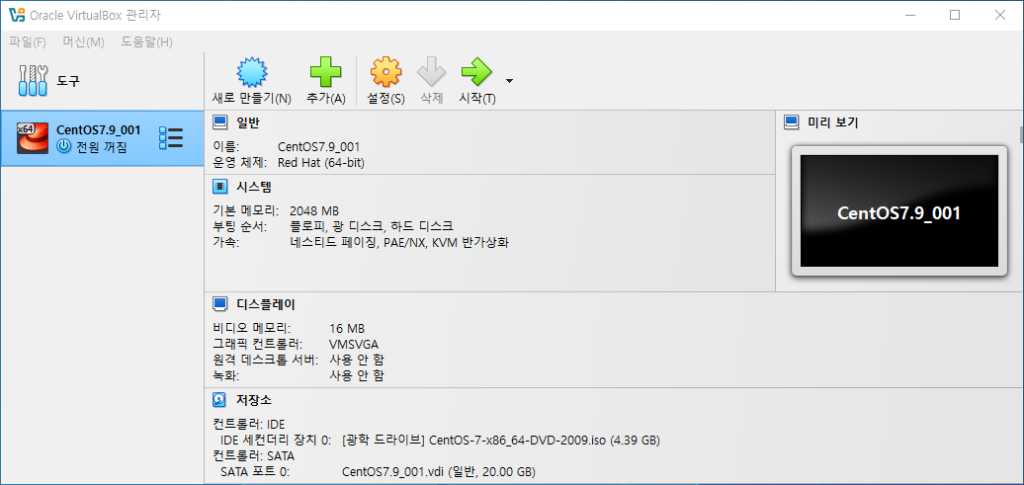
Oracle VirtualBox 머신 생성 완료
위 과정을 모두 끝내면 아래와 같이 설정한 머신이 생성된 것을 확인하실 수 있습니다.
Oracle VirtualBox Machine Generation_6
